

Allow me to explain...
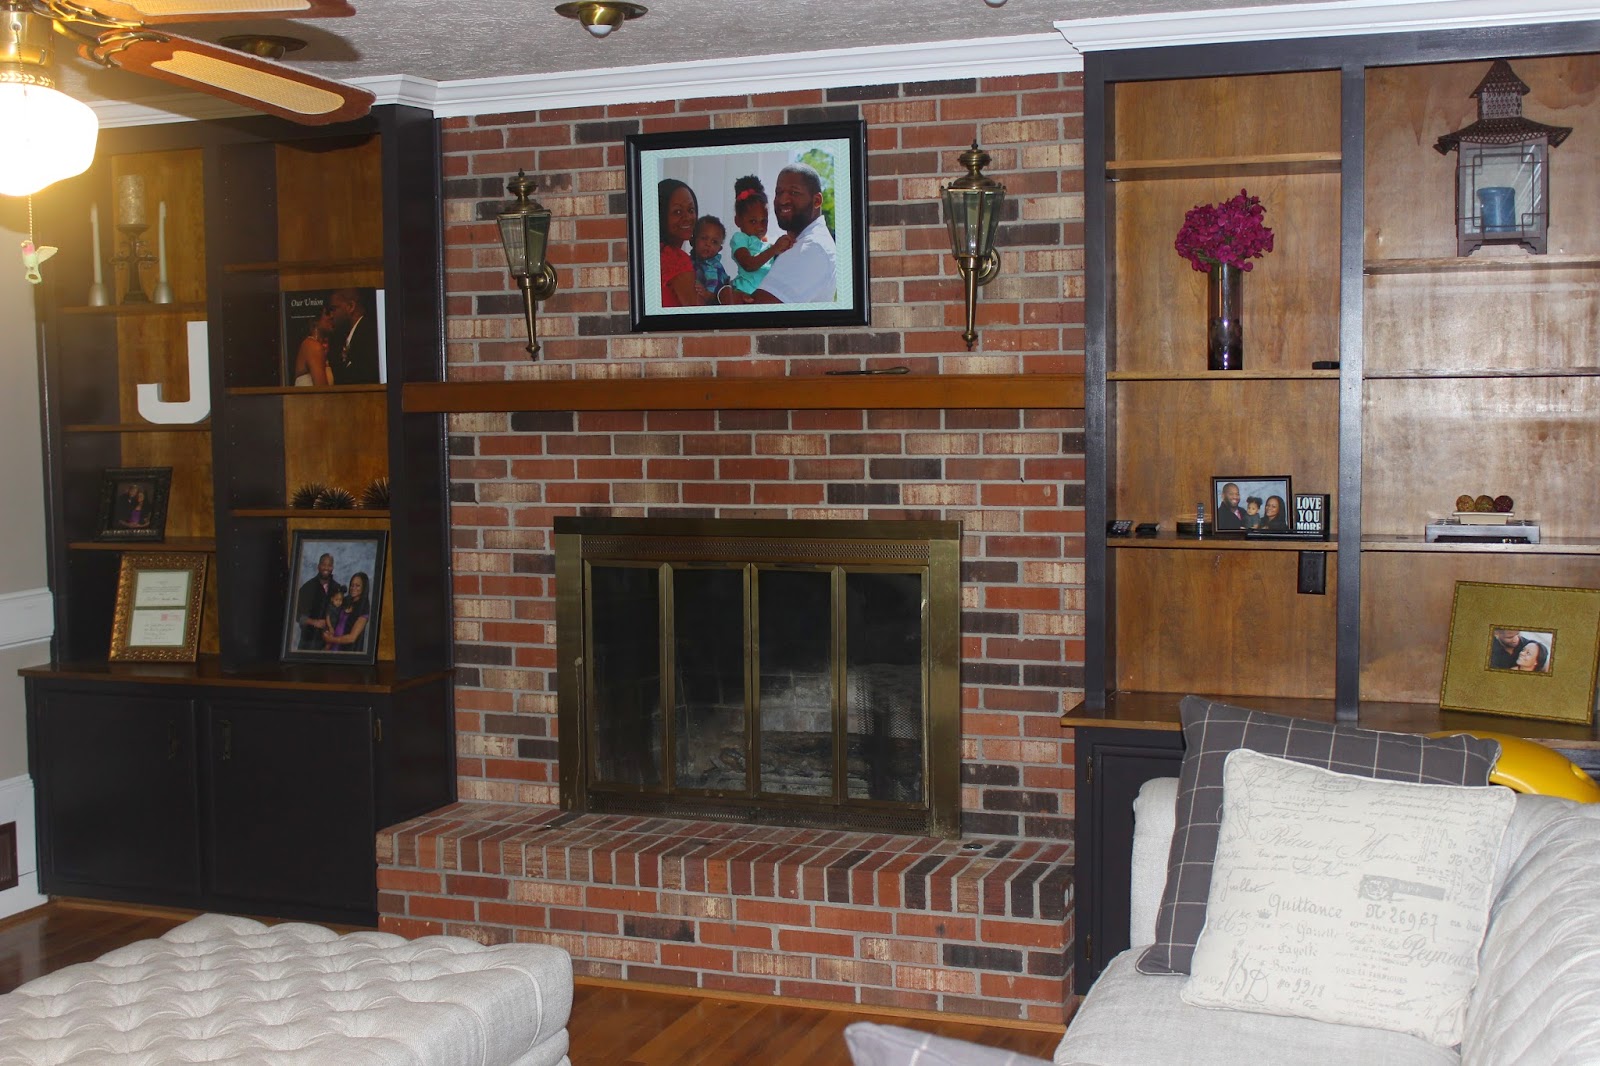
A couple of weeks ago, I finally made the plunge and bought paint colors for the living room and kitchen during one of Sherwin-William's 40% off sales. And bringing the paint home made me way too anxious to not see what they looked like on my walls. Because, this look was getting old very quickly.

(The new couches didn't magically appear with the paint, although that would be an amazing selling point. We bought them a few months ago).
Coincidentally, it was time to slap on a coat of primer on the ceilings and walls of the guest bathroom. So, logically, putting up a coat of primer in the living room alongside the bathroom would make perfect sense, right? Yes, in theory, yes. But, of course, that is not what happened or the word "bathroom" would have somehow made its way to the title. Whathadhappenedwas...I had to use a small 6 inch foam roller in order to put on a smooth coat of primer/paint on my wood walls. And that wasn't going to cut it for the bathroom. Then...once I actually started painting the wood walls, I quickly realized that I had bit off more than I could chew and had to throw my poor little bathroom job to the wayside. A project that I thought would take 3 nights max to complete ended up taking 2 weeks. Here's why:
- These walls house way too much trim, which means I was using my trusty paintbrush (read = slow motion) to get into all of the nooks and crannies (this also meant that I had to use more paint than I initially thought I'd need, which meant I had to buy one more can of paint...at full price. Ugh!)
- I had to do alot of cutting in, because of the layout of the trim which is also very time consuming. I liken it to painting 26 walls...26 miniature walls, mind you, but walls nonetheless.
- Painting the trim exposed all of the gaps, holes, etc... that were previously hidden when the wood was in its pre-paint stage, which meant

- Lastly, I had to paint on 4 frickin' coats of primer/paint to completely cover the wood trim!
That being said, I am kind of glad that I started this project not knowing what I was getting myself into. Else, I would have sat on this project for a few more weeks, months even, until I opened up enough time on my calendar to tackle it. Ignorance
Here's a quick run down of the selection/prime/paint/caulk process:
First, we had to select paint colors. Several months ago, I picked up Benjamin Moore and Sherwin-Williams paint samples. For the wall, we wanted a champagne-looking color, similar to our window treatments. For the built ins, we wanted a color that matched our TV stand. I taped a collection of potential contenders to the wall next to our window treatment:

And stuck the built-in swatches right on the TV stand door:

It was quite easy to pick the color for the built ins. We went with Benjamin Moore's Deep Caviar (Duration brand, semi-gloss):

The built-ins sit a few feet away from the TV stand which makes it way more forgiving to not select a perfect match. I think we were pretty spot on though:
The walls were not so easy, which is why this project had been brushed off for so long. Taping the samples on the wall didn't seem to help. I would walk into the room at different times of the day and take the "losers" off the wall only to find that the last sample standing was too dark (per hubby's standards). So I took another approach. I knew that I wanted the walls to coordinate with my champagne window treatments, so I looked for khaki-ish colors that had more of a gold undertone. That made the selection process alot easier, because it helped me eliminate colors that appeared champagne but were derived from other colors. For example, alot of my finalists were mixed with olive. The color itself was beautiful and champagne-like, but I knew that once I got it up on the wall, what I perceived to be khaki would appear a bit olive-y at certain parts of the day, which is not a part of my desired color scheme.
Hubby and I finally decided to go with Sherwin-William's Bleeker Beige (Cashmere brand...the sales associate actually talked me into buying this paint b/c of its smooth application. She was right. This paint rolled on like butta'). And we chose to do the trim in Sherwin-William's Creamy (Duration brand, semi-gloss...although in hind sight, I would have gone with one of their premium products to possibly prevent having to slab on so many coats of paint).
Second, taping off wall/window edges and cleaning the walls. Taping is self-explanatory. Depending on the surface you're getting ready to paint, you may or may not have to clean the walls. I noticed a few splotches of dust in hard to reach areas, so I did a quick wipe down using Krud Kutter.
Next up, primer. We used an oil based primer here.

Oil based primers pack some serious fumes, but they get the job done in one coat. To reduce my kiddos' exposure to the fumes, I painted this coat on right after they were tucked away in their beds (with their doors closed...their rooms are on a different floor). By morning, the smell was very faint.
Lastly, it's time to paint the walls and trim. I actually painted a coat on the walls first not knowing that it would be more difficult to cut in on the trim. So, I quickly adjusted my plan of action. I proceeded to paint on three coats of paint on the trim, and then moved on to painting on the second coat of wall paint (Hubby inserted caulk where ever necessary in between coats 1 and 2 of the wall trim).
.JPG)
.JPG)
So, there you have it folks. A nicely updated living room that has lost much of its old-schoolish vibe. Welcome to 2014, my previously antiquated little room. At some point, we're going to have to address the fireplace (I'm thinking mortar white-wash). Ooh, and then decorating the mantle, walls, built-ins...and stenciling the back wall of the built-ins. But none of that is going to happen until I paint the bathroom...and kitchen cabinets. Okay, none of that is probably going to happen until I paint the bathroom and kitchen cabinets. You already know how I get down. I'm all over the place.