
See what I mean.


Ah, yes. Faux plastered wallpaper and textured ceilings. Heavenly.
First to go was the wallpaper. I, surprisingly, didn't have a problem stripping it. The top layer peeled off quite easily with muscle.
I resorted to a "non-toxic" spray to remove the 2nd layer. I only had to wait a few minutes for the glue to dissolve. I then used a plastic scraper to remove it from the walls.

This bathroom sported a lovely tile trim (same color as the tub wall tile) that clearly had to go. (I will hide the wall tile with a shower curtain). I used a crow bar with a chiseled edge and a hammer to remove the tile. Somehow, my efforts got a bit out of hand and this happened.

Oops.
Not to worry. I've got a fix for that. Haha!
Soo...once all of the wallpaper has been removed, the proper thing to do is to wash the walls with a water/vinegar mix to remove all of the lingering glue. And I'm only mentioning the proper thing to do b/c I failed to do it. Instead, I whipped out the electric sander. And this may be the appropriate time to make a confession...
I don't have a lot of patience. In life and in DIY. Mind you, I'm getting better (child-rearing has done wonders for me. My kids don't care what kind of timeline I'm on...and so, I've learned to chill out and take my time when dealing with them. Same goes with what ever project I'm tackling). Generally speaking, I am a rule follower. Except when I'm not a rule follower. Yafeelme? I'm not sure what my thought process was at this particular moment. To only sand down the textured ceiling as much as possible? Perhaps. Either way, the sander made it to the walls and I just kept on going.
My trusty sander works well with removing leftover glue and wallpaper, by the way. Oh, and I should mention that I had to sand the ceilings because spraying them with water to scrape them didn't work. Ugh. It was a, uh, dusty job.

Those are real floor tiles, by the way. I am in great like with them (I love God, my husband, and my kids). Oh, and you might be able to tell from this shot that I painted the vanity. I ran out of wallpaper remover earlier this week and didn't want to break momentum on the progress of this bathroom. More on the vanity at a later date. Mainly, because I'm just not done with it.
Soo, after sanding, I started filling in my tile removal goof up with joint compound. Tah Dah!

And skim coating the ceilings. Ugh.

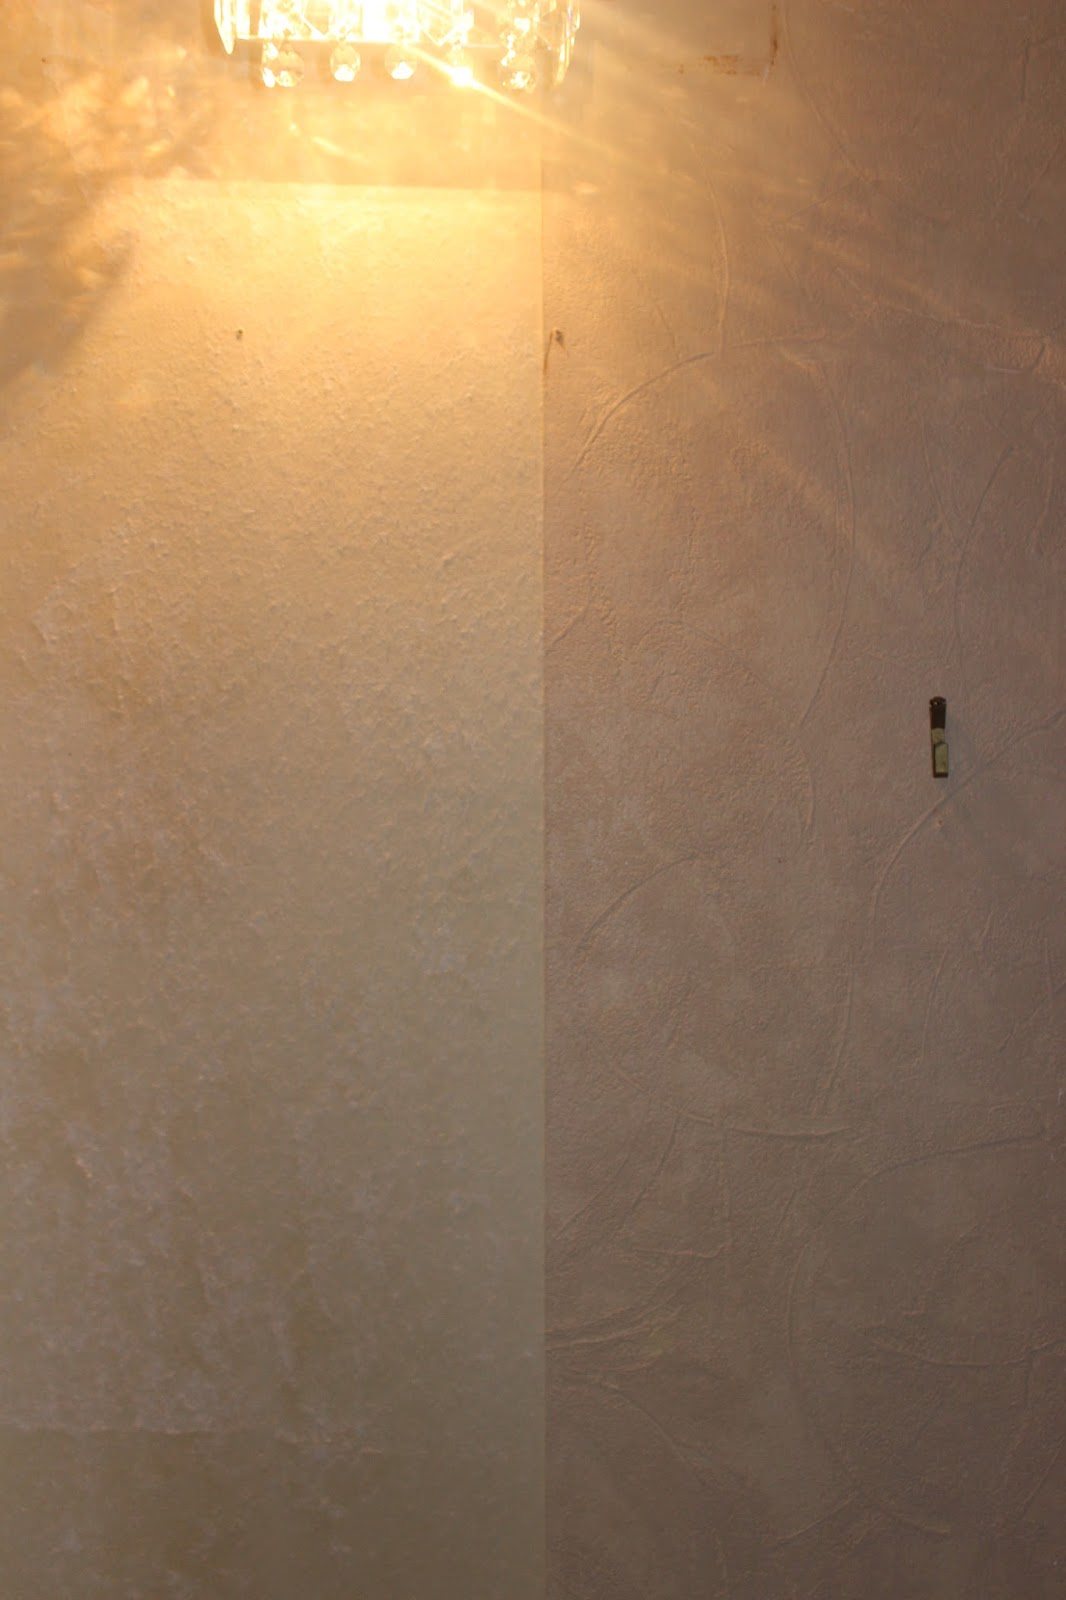
These are only my first passes at smoothing out my walls and ceiling (I ran out of compound, haha)! I imagine I have at least two more passes to get through. I am, surprisingly, exercising great patience with skim coating. I used this tutorial to understand the basic rules of skim coating but have since adapted my own technique and tend to load up a little more mixture onto my scraper than probably recommended. You know, just to keep things moving along more quickly. Otherwise, this would take forever! Rule follower, except when I'm not. It's who I am. So back to my surprising bout of patience...I figure at any point I can stop skim coating the ceiling, and it will still look ten times better than it originally did. What ever keeps me going, right?
I still have a ways to go. A couple more rounds of skim coating, followed by sanding, priming and painting. Seems so easy when you can sum it all up in one sentence. Sigh.
More details to come, but right now I have 42 pounds of compound in my car that I need to transport into the house.
No comments:
Post a Comment