Wednesday, September 24, 2014

DIY Garden Flag

So, even though we have a gajillion projects to do indoors (that's about two score more than a gazillion for the numbers people out there), it was important (to me) that I create a "garden" flag to let the neighborhood know that "we're here...and we ain't goin' nowhere any time soon."  So, off to the fabric store I went...

This project has actually been in the works for a little over a month.  It turns out, it wasn't as simple to pick out fabric for this flag as I originally thought (I've also been experiencing the same self-imposed pressure with picking out paint colors as of late).  I don't want to misrepresent my family by selecting the wrong fabric color, texture, you get the picture...  And I wanted this flag to be sophisticated and not too girly to appease the old hubs of mine.  Well, let me clarify...sophistication is the end goal for this flag alone, what I'm dubbing my "starter" flag - the flag that will set the tone of our existence on our quiet street for years months to come.  After several trips to the fabric store, I finally landed on burlap - a nice, natural brown for the background and a brown/black herringbone design for the monogram.  I also picked up some outdoor scotch guard to make sure my flag stands the test of time.

Oh, before we continue, here's a Lofty 4 Less tip:  most fabric stores will cut fabric, notions, etc... for you by the inch.  You can save a few duckets by asking for the exact amount of material that you need.  This does not apply to online fabric stores at the moment; I typically only buy home decor fabrics online and order to the closest half yard (whenever possible).  When I'm making window treatments, I use the fabric in excess of what I really needed to beef up/thicken my hems,but more on that later.

Ok, design mode.  I let my family give their input here.  To make things fun, I printed out a number of "J"s and let my family "carefully" rule out font by font until a winner was selected.  I use the term carefully loosely because half of my family members are currently under the age of 3!  In fact, I was unable to photograph the selection process because my son wrecked my display (I'm actually numb to this now).  Either way, here's a neat and in tact version of their options:

With some slight coaxing by yours truly, they (my husband, really) ended up selecting the 4th "J".  It was the most unique, and I thought it would add interest to a somewhat "safe" color/fabric/texture selection.

To determine the proper measurements for my flag, I started by measuring the width of my flag pole (actually, I sent my husband out to measure it for me while I watched the kiddos).  10.5 inches.  So...I would make my flag 10 inches wide so that it would fit snugly on the pole.  (See how I did that?  No quick rule of thumb, just a gut measurement (ok, a gut measurement along with 20+ years of sewing experience)...and for your sake, if it turns out that your flag is too wide for your liking, you can always take it in...always better to have the option to take something in).  I decided to make the length of my flag 12 inches.  Here's a quick sketch that kinda/sort of explains how I came to this number:

Followed by a somewhat brief explanation:  I knew that I wanted my lettering to span a width of 6 inches simply because I liked the size when I printed out the J's for my family to review.  A 6-inch wide J allows for a 2 inch margin on both sides of the flag.  The length of my J is 8 inches (which I also liked), so in order to have a 2 inch margin on top and bottom of the flag, the length of the finished flag would have to be 12 inches.  You'll also need to factor in enough fabric to sew your seams (I typically add half an inch), which means that I needed to cut out 11 by 13 inch rectangles for my flag base (2 rectangles to be exact - one for the front of the flag, the other for the back to hide my stitchings).  Still following me?  I really hope so.

Ok, so next step was to pin and cut out my monogram...

Followed by eyeballing the placement of the J on the flag and pinning it.  I actually tried to get technical and initially used a measuring board to help with placement, but I wasn't pleased with the result.

Finally, sewing time.  I used a simple zigzag stitch.  My sewing machine has an applique stitch, but I opted to zig zag because it would help prevent the burlap from fraying.  (I even thought about modge podging my J onto the flag but didn't know how my sewing machine would react to it.  And I'm not too confident about using modge podge on outdoorsy projects; I have a few discolored decoupaged flower pots to back me up...yep, Pinterest fail).  I went around my J twice with the zigzag stitch just to make sure the entire circumference of my applique was secure.


Next up, was adding loops to hang my flag.  Originally, I wanted to use the natural burlap to create my loops but a little bit of last minute creativity and a lot of laziness helped me to decide on making herringbone loops instead (I didn't have to change my thread color if I went with the herringbone.  For shame!)  As for the loop measurements - it all comes down to preference.  I decided that I wanted three equally spaced loops so I cut out a 4x10 inch rectangle.  Using a zigzag stitch, I hemmed both sides 1/2 inch (lengthwise).

I cut my hemmed rectangle into three equal pieces and pinned and sewed them to the top of my flag.


Once my loops were intact, I sewed the front and the back portion of the flag together (right sides facing each other), leaving a gap at the bottom of the flag so that I could turn it inside out.

To make sure that your corners are professional-looking, cut your raw edges at a diagonal angle as pictured above.  This will reduce the amount of fabric that lives in each corner once it's turned inside out, therefore making your corners look more crisp and clean.

Small stitch at the bottom of the flag to close the gap up.  Light pressing, and wallah!!  We have ourselves a permanent beautiful statement of our existence on this street!


I scotch guarded the flag while it was on the post.  No sense in getting all fancy and trying to create a formal spraying station, right?  And if this doesn't hold up, no sweat off my back.  It's gon' be what it's gon' be, right?  Besides, I have plenty of scrap material to make many more.  Don't test me, Weather.

Friday, September 19, 2014

Main Level Bathroom

For the past week or so, I have been plugging away at giving my "guest" bathroom new life.  There's nothing wrong with it functionally (other than a leaky shower faucet), but it has been crying out for, uh, brightness.

See what I mean.


Ah, yes.  Faux plastered wallpaper and textured ceilings. Heavenly.

First to go was the wallpaper.  I, surprisingly, didn't have a problem stripping it.  The top layer peeled off quite easily with muscle. 

I resorted to a "non-toxic" spray to remove the 2nd layer.  I only had to wait a few minutes for the glue to dissolve.  I then used a plastic scraper to remove it from the walls.
             

This bathroom sported a lovely tile trim (same color as the tub wall tile) that clearly had to go.  (I will hide the wall tile with a shower curtain).  I used a crow bar with a chiseled edge and a hammer to remove the tile.  Somehow, my efforts got a bit out of hand and this happened.


Oops.

Not to worry.  I've got a fix for that. Haha!

Soo...once all of the wallpaper has been removed, the proper thing to do is to wash the walls with a water/vinegar mix to remove all of the lingering glue.  And I'm only mentioning the proper thing to do b/c I failed to do it.  Instead, I whipped out the electric sander.  And this may be the appropriate time to make a confession...

 I don't have a lot of patience.  In life and in DIY.  Mind you, I'm getting better (child-rearing has done wonders for me.  My kids don't care what kind of timeline I'm on...and so, I've learned to chill out and take my time when dealing with them.  Same goes with what ever project I'm tackling).  Generally speaking, I am a rule follower.  Except when I'm not a rule follower.  Yafeelme?  I'm not sure what my thought process was at this particular moment.  To only sand down the textured ceiling as much as possible?  Perhaps.  Either way, the sander made it to the walls and I just kept on going.

My trusty sander works well with removing leftover glue and wallpaper, by the way.  Oh, and I should mention that I had to sand the ceilings because spraying them with water to scrape them didn't work. Ugh.  It was a, uh, dusty job.

Those are real floor tiles, by the way.  I am in great like with them (I love God, my husband, and my kids).  Oh, and you might be able to tell from this shot that I painted the vanity.  I ran out of wallpaper remover earlier this week and didn't want to break momentum on the progress of this bathroom.  More on the vanity at a later date.  Mainly, because I'm just not done with it.

Soo, after sanding, I started filling in my tile removal goof up with joint compound.  Tah Dah!


And skim coating the ceilings.  Ugh.


These are only my first passes at smoothing out my walls and ceiling (I ran out of compound, haha)!  I imagine I have at least two more passes to get through.  I am, surprisingly, exercising great patience with skim coating.  I used this tutorial to understand the basic rules of skim coating but have since adapted my own technique and tend to load up a little more mixture onto my scraper than probably recommended.  You know, just to keep things moving along more quickly.  Otherwise, this would take forever!  Rule follower, except when I'm not.  It's who I am.  So back to my surprising bout of patience...I figure at any point I can stop skim coating the ceiling, and it will still look ten times better than it originally did.  What ever keeps me going, right?

I still have a ways to go.  A couple more rounds of skim coating, followed by sanding, priming and painting.  Seems so easy when you can sum it all up in one sentence.  Sigh.

More details to come, but right now I have 42 pounds of compound in my car that I need to transport into the house.

Friday, September 5, 2014

New Kitchen Lights.

Take a look at these bad boys:


Oh, how industrial!  We absolutely love the look, but looks sometimes come with sacrifice (that's a message for someone).  And in this case, we sacrificed overall general kitchen lighting (for now).  Our new lights are more directional (downward focusing).  And that's not a problem for us at the moment, it just means a little creativity is in order.

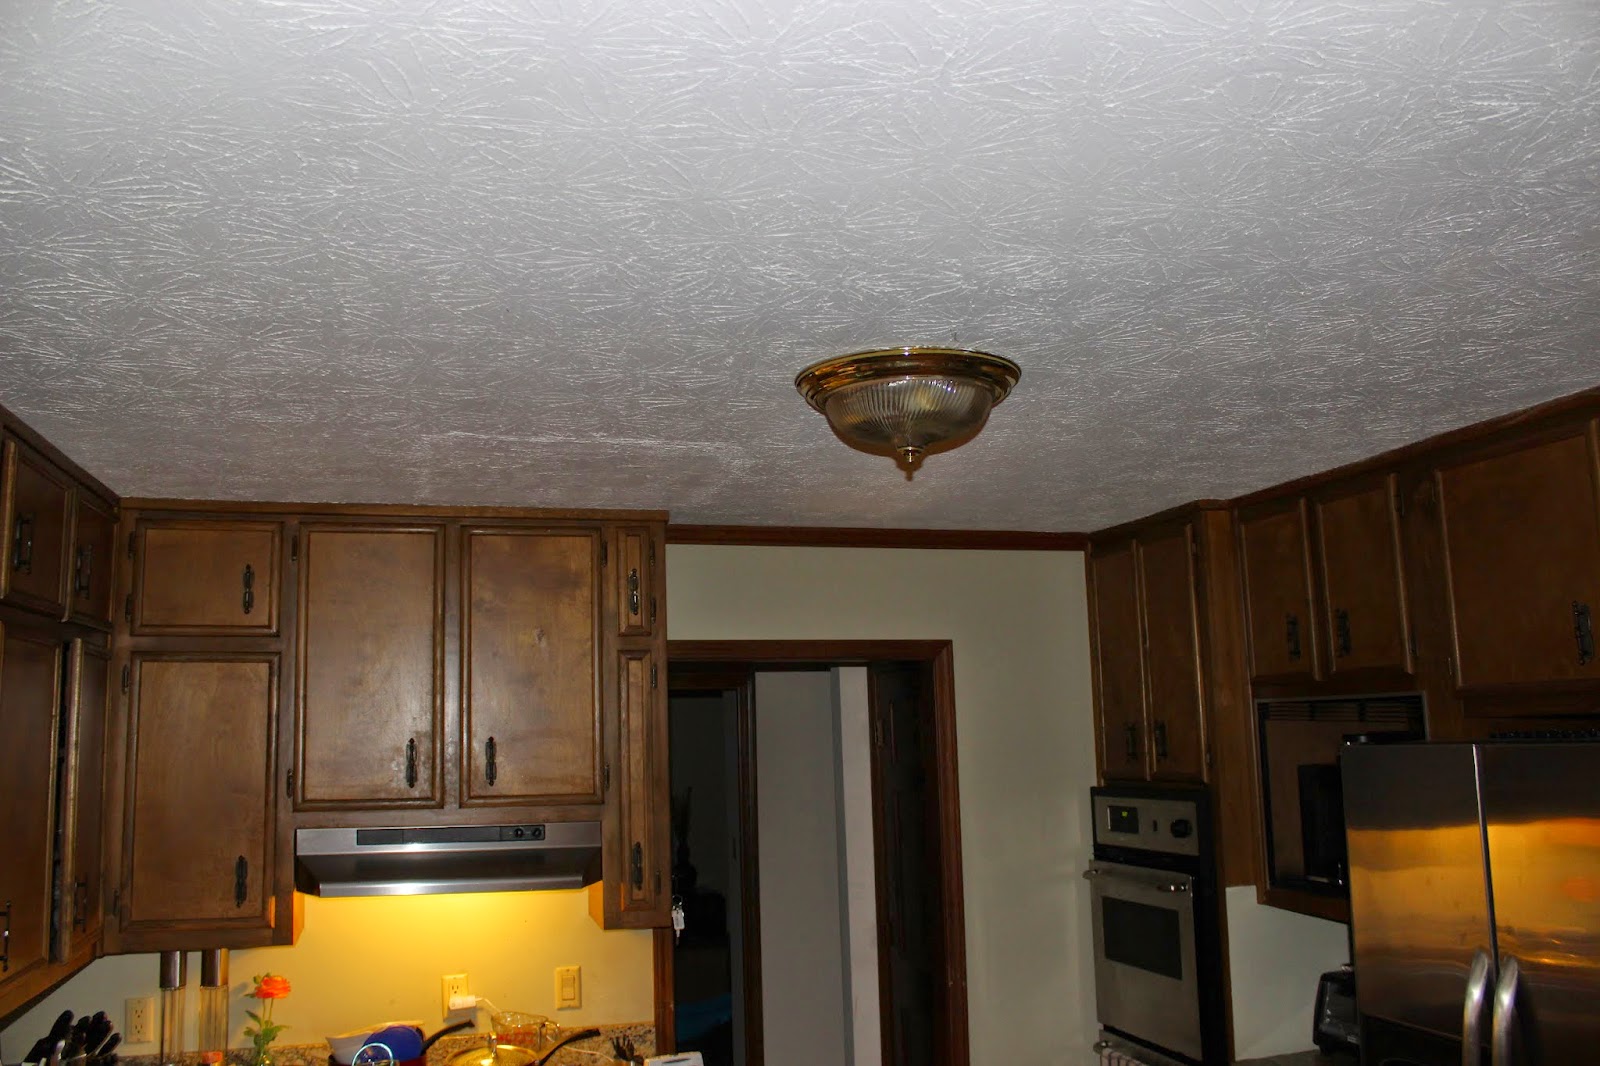
So...the main kitchen light.  The original fixture allowed for light to beam everywhere.


Insert new light and Wallah! Darkness.

Our solution.  Two socket adapters.  Simply because one wasn't enough.


The adapters allow the light bulb to sit lower to the ground so it can spread its light-y goodness to our kitchen.  The top portions of our upper cabinets still do not see much light, but again, we're okay with that for now but will probably address this with recessed lighting some time in the future.

Also, at some point, we plan on replacing the light that lives above our sink and removing the board that currently conceals it to spread more light to the room, but this is also low on our priority list right now.  Mainly, because we haven't found a light fixture dope enough to warrant the change just yet.

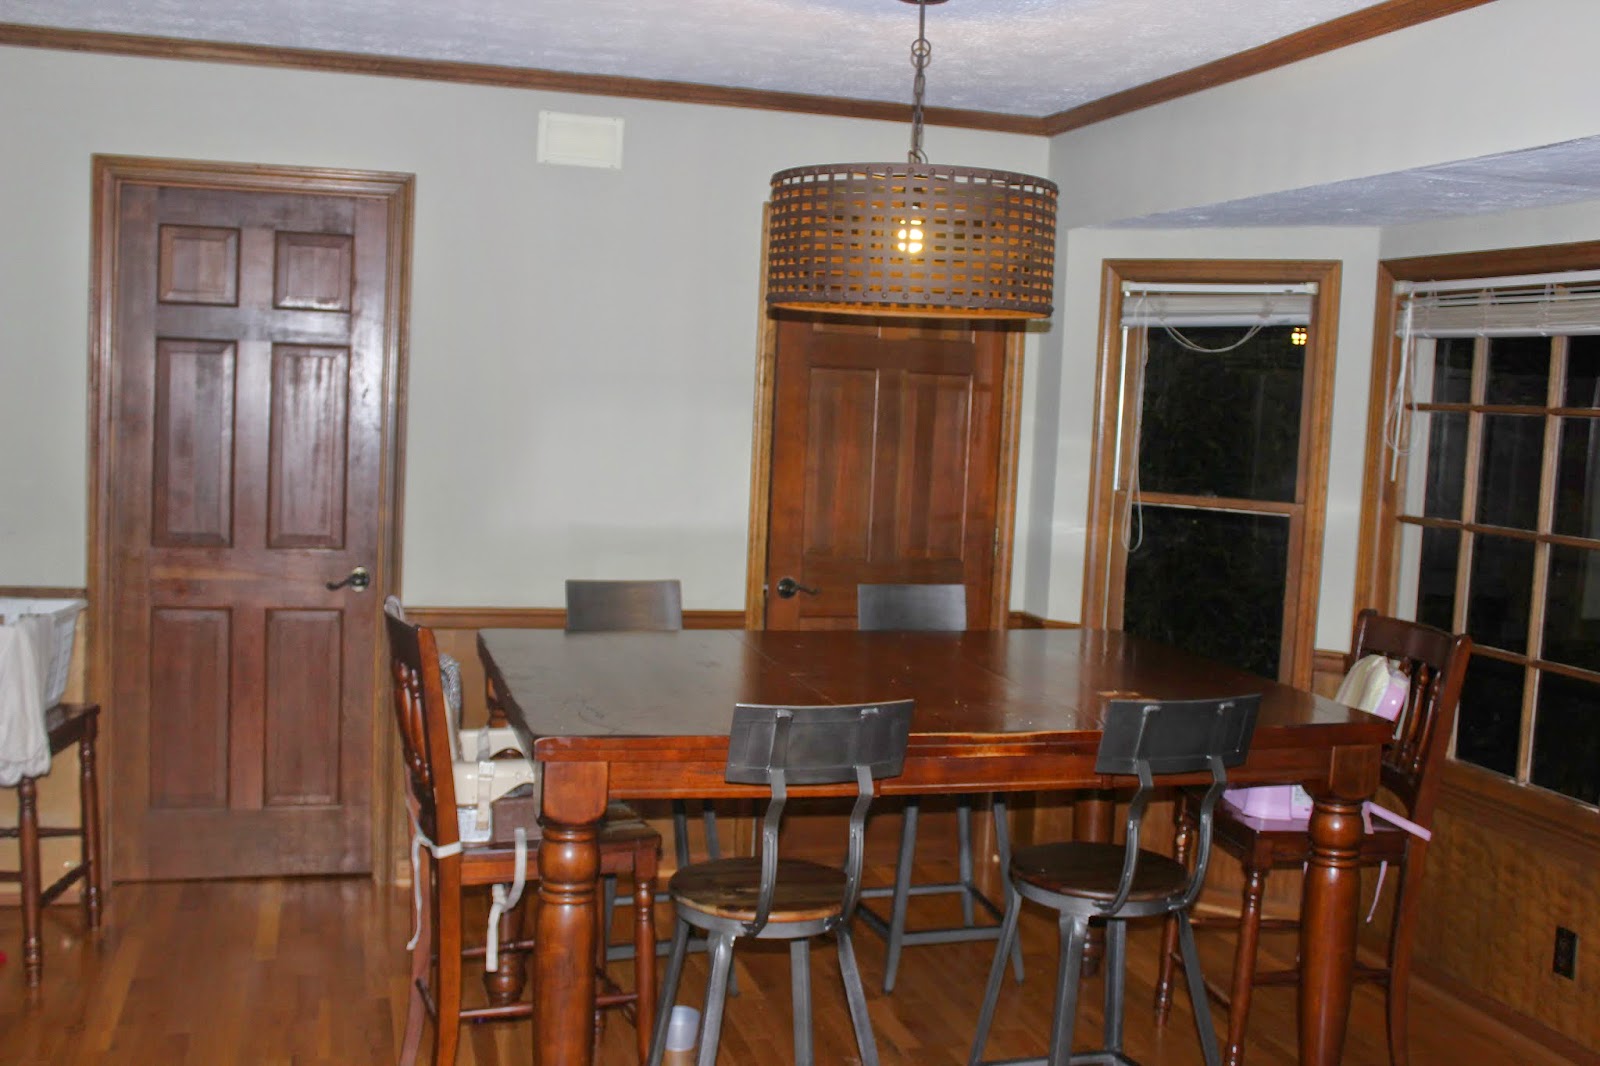
To make our breakfast area light less directional, we will also use a socket adapter.  But, we're still debating on whether we want to string a few double socket adapters together or if we want to use a 4-light socket adapter.  The hold up here is research - I don't want to start an electrical fire on account of trying to make this light fixture more pirdy.

But, what ever socket adapter we end up adding to this fixture will be more for aesthetics than function.  One light bulb lights up the breakfast area adequately, but we feel like the fixture itself is a little too massive to only have one light bulb.  It's like putting guppies in a custom aquarium. Just ain't right.  You know what I mean?  But even with one bulb, this guppy holder is a vast improvement over what originally dangled in its place.

Yikes!  Um, hello 80's...you can have your light fixture back!  Seriously. Come and take it.